[ Disclaimer, Create new user --- Wiki markup help, Install P99 ]
HOT Mobs Guide
The Halls of Testing (HOT) is the eastern part of Temple of Veeshan and drops pieces for Skyshrine Velious Class Armor.
Contents |
Standard Mobs
Respawn time of mobs in Halls of Testing (and most trash mobs in TOV) is 72 minutes.
| Picture | Name | Specials | Strategy | Resists* |
|---|---|---|---|---|
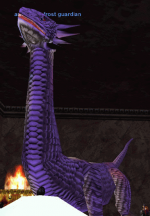
| an ancient frost guardian | • Wave of Cold - 350 Cold Damage PBAOE • Casts Upheaval, Complete Heal, and Gate) |
Use Druid's Circle of Summer to boost CR and Enchanters can use Mana Sieve to make it go out of mana causing it to cast less offensive spells and then it won't Complete Heal or Gate. Alternatively, you can burn it down at 20% life in a few seconds. Tank it outside of the line of sight of healers. Slow it. This mob has a huge hit box, so you can stand very far away to avoid Upheaval (except for the tank). |
| |
| an ancient shard wyvern | • Rampage | Have 2 tanks engage first so they can get main tank and ramp tank. Slow it. |
| |
| an ancient tigerclaw racnar | • No specials | Standard tank and spank. Can hit up to 5 times per round. Slow it. |
| |
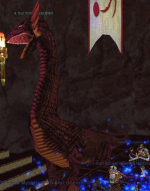
| a burning guardian | • Rain of Molten Lava - 300 Fire Damage PBAOE • Wave of Heat - 200 Fire Damage PBAOE |
Use Druid's Circle of Winter to boost FR. Tank it out of line of sight of the healers. Slow it. |
| |
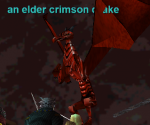
| an elder crimson drake | • Flame Jet - 100 Fire Damage PBAOE | Standard tank and spank. Slow it. Flame Jet is pretty weak - Regrowth will almost completely stop it. |
| |
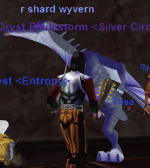
| an elder shard wyvern | • Rampage | Have 2 tanks engage first so they can get main tank and ramp tank. Slow it. |
| |
| an emerald watcher | • Backstab | Standard tank and spank. Slow it. Can backstab VERY hard, don't turn your back to it. |
| |
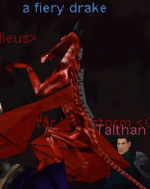
| a fiery drake | • Flame Jet - 100 Fire Damage PBAOE | Standard tank and spank. Slow it. Flame Jet is pretty weak - Regrowth will almost completely stop it. |
| |
| a fiery guardian | • Rain of Molten Lava - 300 Fire Damage PBAOE • Wave of Heat - 200 Fire Damage PBAOE |
Use Druid's Circle of Winter to boost FR. Tank it out of line of sight of the healers. Slow it. |
| |
| a glimmering emerald drake | • Backstab • Slime Mist |
Standard tank and spank with Slime Mist proc that slows the tank. Slow it. Can backstab VERY hard, don't turn your back to it. |
| |
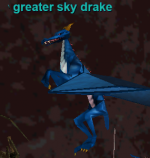
| a greater sky drake | • Casts Complete Heal, Gate & Thunder Blast | Enchanters can use Mana Sieve to make it go out of mana causing it to not be able to cast Complete Heal or Gate. Alternatively, you can burn it down at 20% life in a few seconds. Slow it. Thunder Blast will kill mana, so if you're using a Knight tank you might need to swap tanks after this mob. |
| |
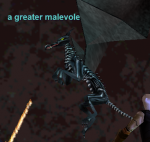
| a greater malevolent drake | • Casts Acid Jet - 20HP/tick DOT | Standard tank and spank. Slow it. Acid Jet is pretty weak - Regrowth will almost completely stop it. |
| |
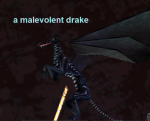
| a malevolent drake | • Casts Acid Jet - 20HP/tick DOT | Standard tank and spank. Slow it. Acid Jet is pretty weak - Regrowth will almost completely stop it. |
Needs confirmation, seems low
| |
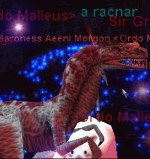
| A racnar (Temple of Veeshan) | • No specials | Standard tank and spank. Can hit up to 5 times per round. Slow it. |
| |
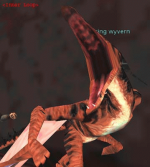
| a raging wyvern | • Unslowable • Rampage • Backstab |
Have 2 tanks engage first so they can get main tank and ramp tank, make sure to heal enough since it's unslowable. Can backstab VERY hard, don't turn your back to it. |
| |
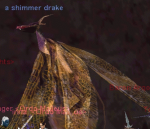
| a shimmer drake | • Unslowable • AOE 4 slot dispel based on target • Druid version will cast Winged Death, Earthquake, and Gate and Ranger will cast Flame Lick |
This mob casts a targeted AOE dispel on the MT. Others can avoid the dispel if they fight as far away from the MT as possible since the AOE range is not big. If it's a Ranger you can kill it normally, but if it's a Druid then you will want to have Enchanters cast Mana Sieve on it so it can't Gate. |
| |
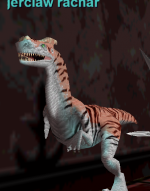
| a tigerclaw racnar | • No specials | Standard tank and spank. Can hit up to 5 times per round. Slow it. |
| |
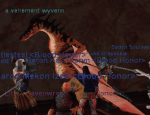
| a vehement wyvern | • Rampage • Backstab |
Have 2 tanks engage first so they can get main tank and ramp tank. Slow it. Can backstab VERY hard, don't turn your back to it. |
|
Named Mobs
Respawn time of named mobs in Halls of Testing is 3 days +/- 8 hours. More details on specials needed for the named drakes.
| Picture | Name | Specials | Strategy | Resists* |
|---|---|---|---|---|
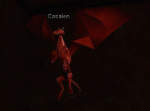
| Casalen | Drops • White Symbol • Poison Symbol • Glowing Drake Orb |
Basically a tank and spank mob, hits about the same as normal HoT mobs, but has way more Hit Points. Slow it. |
| |
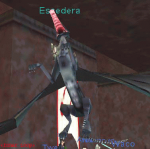
| Essedera | Drops • Silver Symbol • Platinum Symbol • Glowing Drake Orb |
Basically a tank and spank mob, hits about the same as normal HoT mobs, but has way more Hit Points. Slow it. |
| |
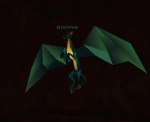
| Grozzmel | Drops • Runed Symbol • Emerald Symbol • Glowing Drake Orb |
Basically a tank and spank mob, hits about the same as normal HoT mobs, but has way more Hit Points. Will cast Complete Heal and Gate so you will need to cast Mana Sieve on it. Slow it. |
| |
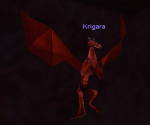
| Krigara | Drops • Black Symbol • Flame Kissed Symbol • Glowing Drake Orb |
Basically a tank and spank mob, hits about the same as normal HoT mobs, but has way more Hit Points. Slow it. |
| |
| Lepethida | Drops • Serrated Symbol • Ruby Symbol • Glowing Drake Orb |
Hits about the same as normal HoT mobs, but has way more Hit Points. Will cast Complete Heal and Gate so you will need to cast Mana Sieve on it. Also hits tank with Thunder Blast. Slow it. |
| |
| Midayor | Drops • Runed Symbol • Emerald Symbol • Glowing Drake Orb |
Basically a tank and spank mob, hits about the same as normal HoT mobs, but has way more Hit Points. Slow it. |
| |
| Tavekalem | Drops • White Symbol • Poison Symbol • Glowing Drake Orb |
Basically a tank and spank mob, hits about the same as normal HoT mobs, but has way more Hit Points. Slow it. |
| |
| Ymmeln | Drops • Black Symbol • Flame Kissed Symbol • Glowing Drake Orb |
Basically a tank and spank mob, hits about the same as normal HoT mobs, but has way more Hit Points. Slow it. |
|
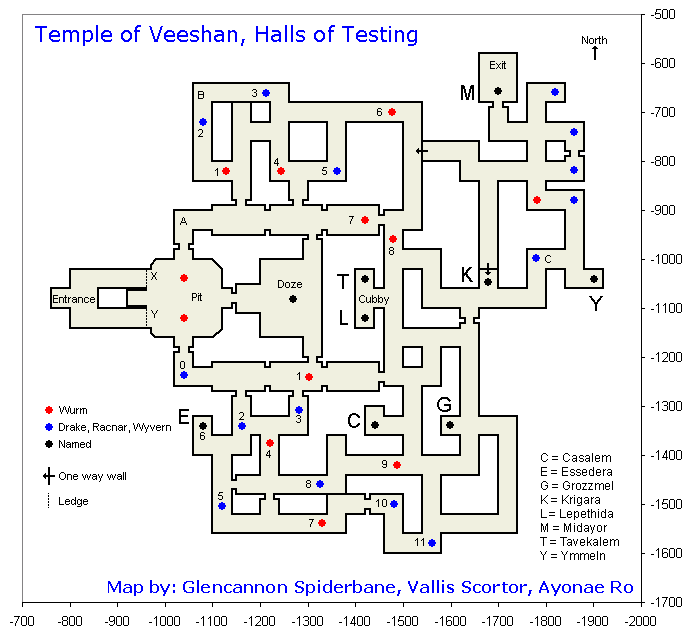
Map
Pulling
Common places for people to set up camp are at M (M is done almost all of the time) and G as the cross-shaped hallway is beneficial for confirming clean or dirty pulls before tagging. There are named mobs that spawn here, but they very long respawn times so it's unlikely they will pop while you are doing HoT. The one-way wall near K is good for splitting pulls since mobs cannot see through it, but can be pulled through it.
Tanking
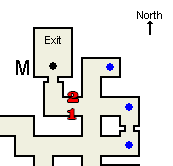
There are generally two spots that people like to tank mobs at camp M with different advantages to the both.
Location 1 - This is the more common spot as it allows you to setup everyone behind the door in the exit room when not engaged on a mob. When a mob is brought in, the tank engages and everyone can pin it against this wall without issues. You should be able to be in range of a CH chain as well as casters from behind the door.
Location 2 - This area allows for easier use of pets, you pin it up against the closer wall which allows for people to camp in the same spot as #1 or you can sit just around the corner from this mob tanking spot. Pin it against the wall with push and it allows for melee to quickly go in and out of combat without having to move much. Pet classes can stand in the corner in the exit room closest to the mob and use Summon Companion to put the pet slightly in the wall and able to attack the mob through the wall while avoiding AEs.
